Of the many upgrades Facebook made from one generation to the next, the Oculus Quest 2's 90Hz display is probably one of the biggest. The refresh rate provides a 25% improvement over the original Oculus Quest, along with a smoother, much more realistic VR experience. But did you know that the Oculus Quest 2 only runs most games at 72Hz at launch? That's the same refresh rate as the original Oculus Quest. Thankfully, you can enable the 90Hz mode for all games and apps, but it takes a bit of tinkering to get there.
Note: While the following steps are straightforward, there's always the chance that modifying your Oculus Quest 2 with ADB commands could mess something up. If that bothers you, it's probably best to skip this process. After all, Facebook said that 90Hz is coming officially to all apps in the future, so it's just a matter of time before an official fool-proof solution is available.
Products used in this guide
- The best in VR: Oculus Quest 2 (From $299 at Amazon)
- A longer cable means less hassle: Shample Oculus Link USB cable ($28 at Amazon)
How to unlock developer mode
In order to send ADB commands to your Oculus Quest 2, you'll need to put it in developer mode. If you already had an Oculus Quest and followed the steps in our how to sideload apps on the Oculus Quest guide, you probably already have developer mode enabled.
For those that haven't enabled developer mode yet, the following steps will help you get everything squared away. For this guide, you'll need a PC in order to get things setup properly. We also recommend downloading SideQuest, which is a free utility that makes connecting the Oculus Quest 2 to a PC an easier process. It also unlocks a world of indie games that you can't get on the official Oculus Store.
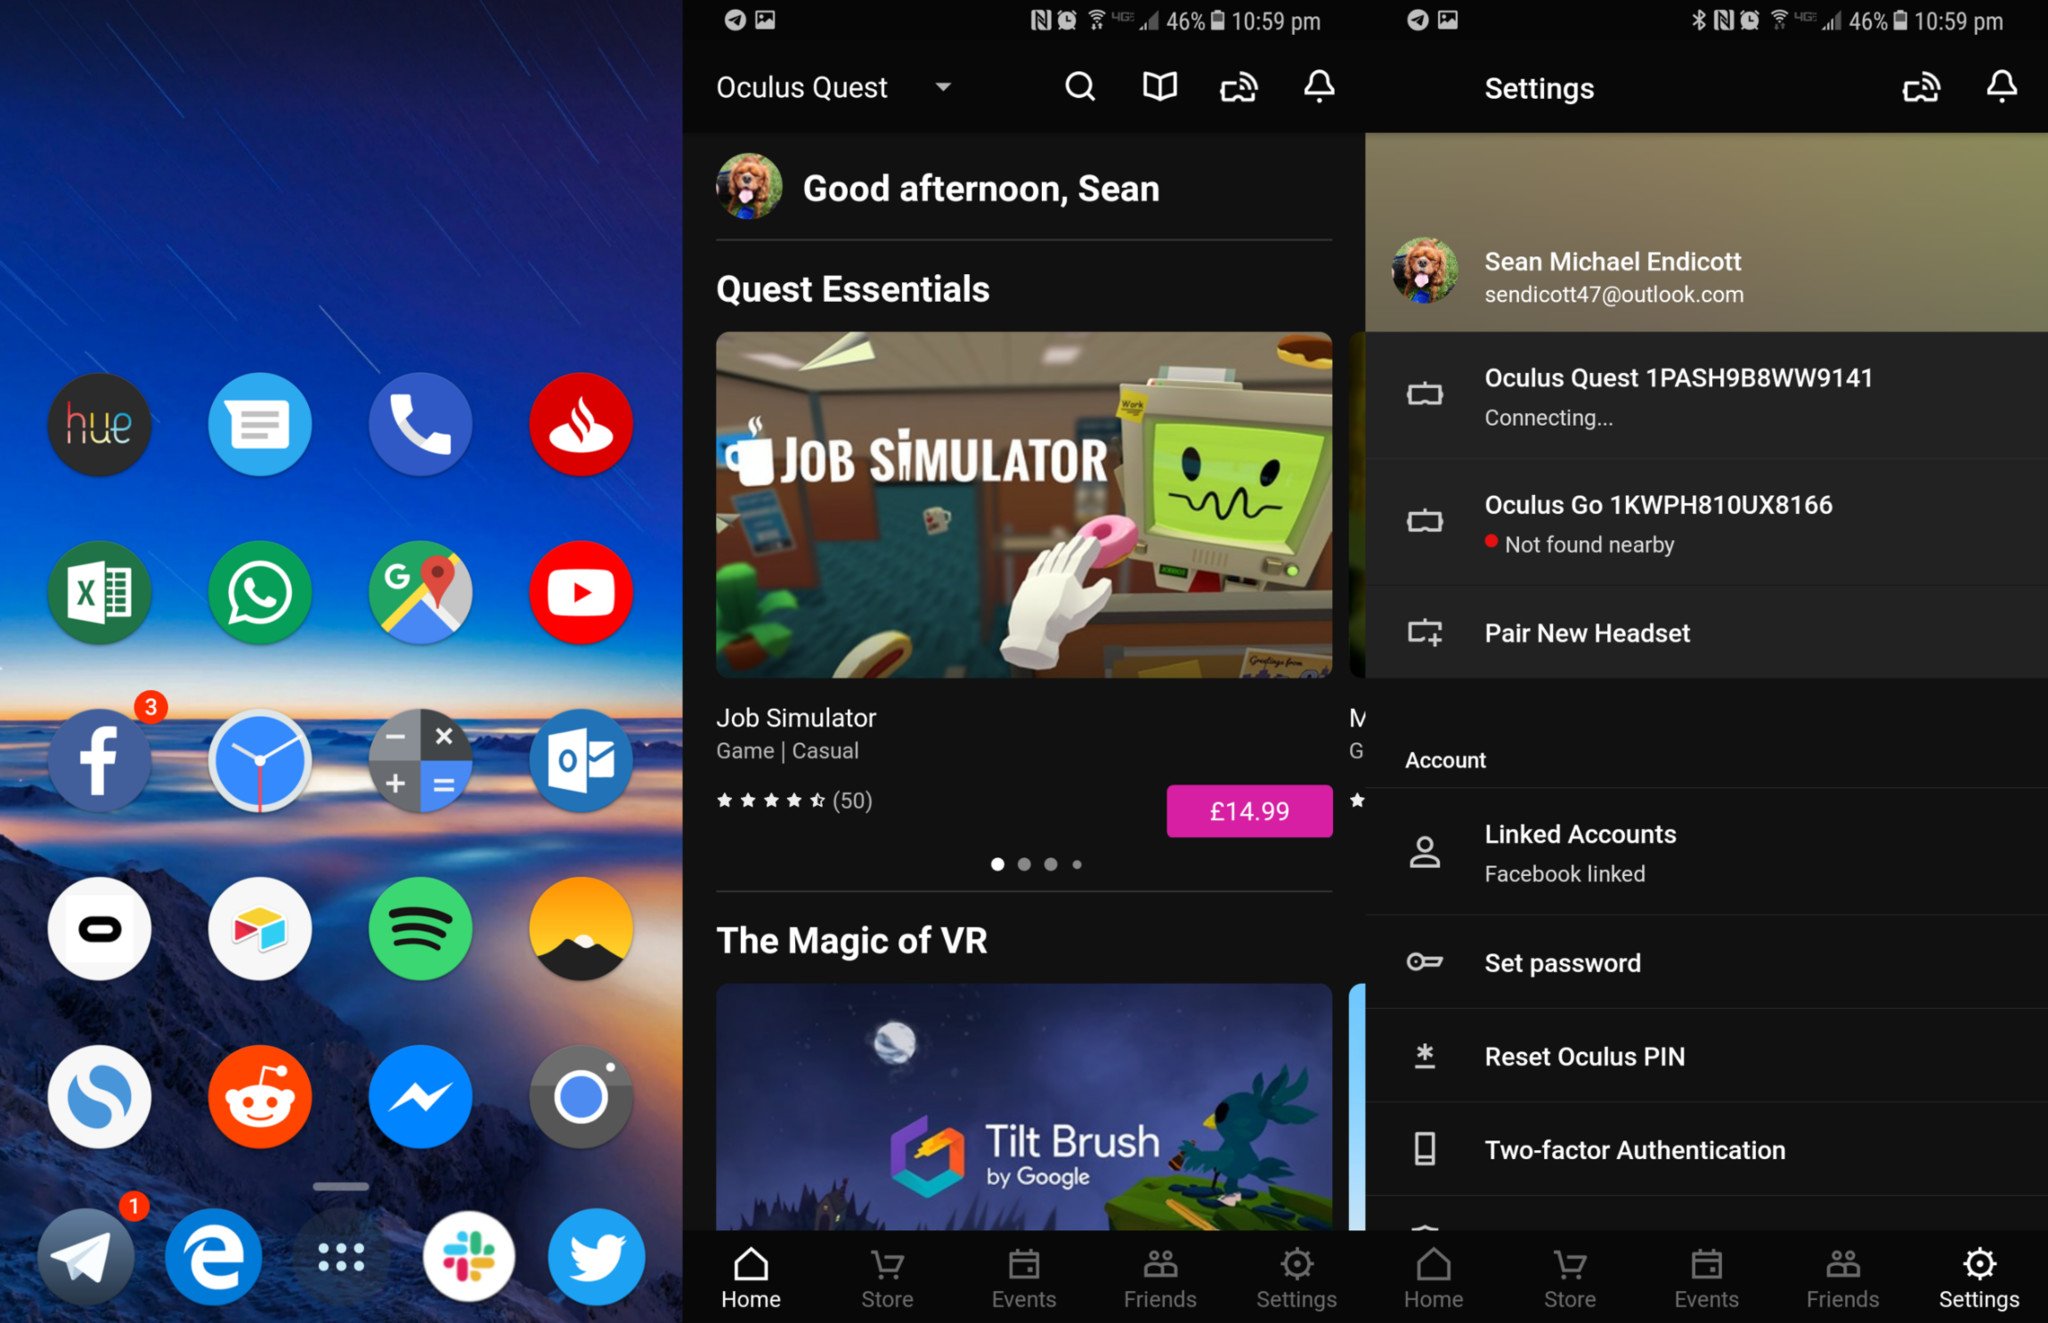
- Open the Oculus app on your phone.
- Select Settings.
-
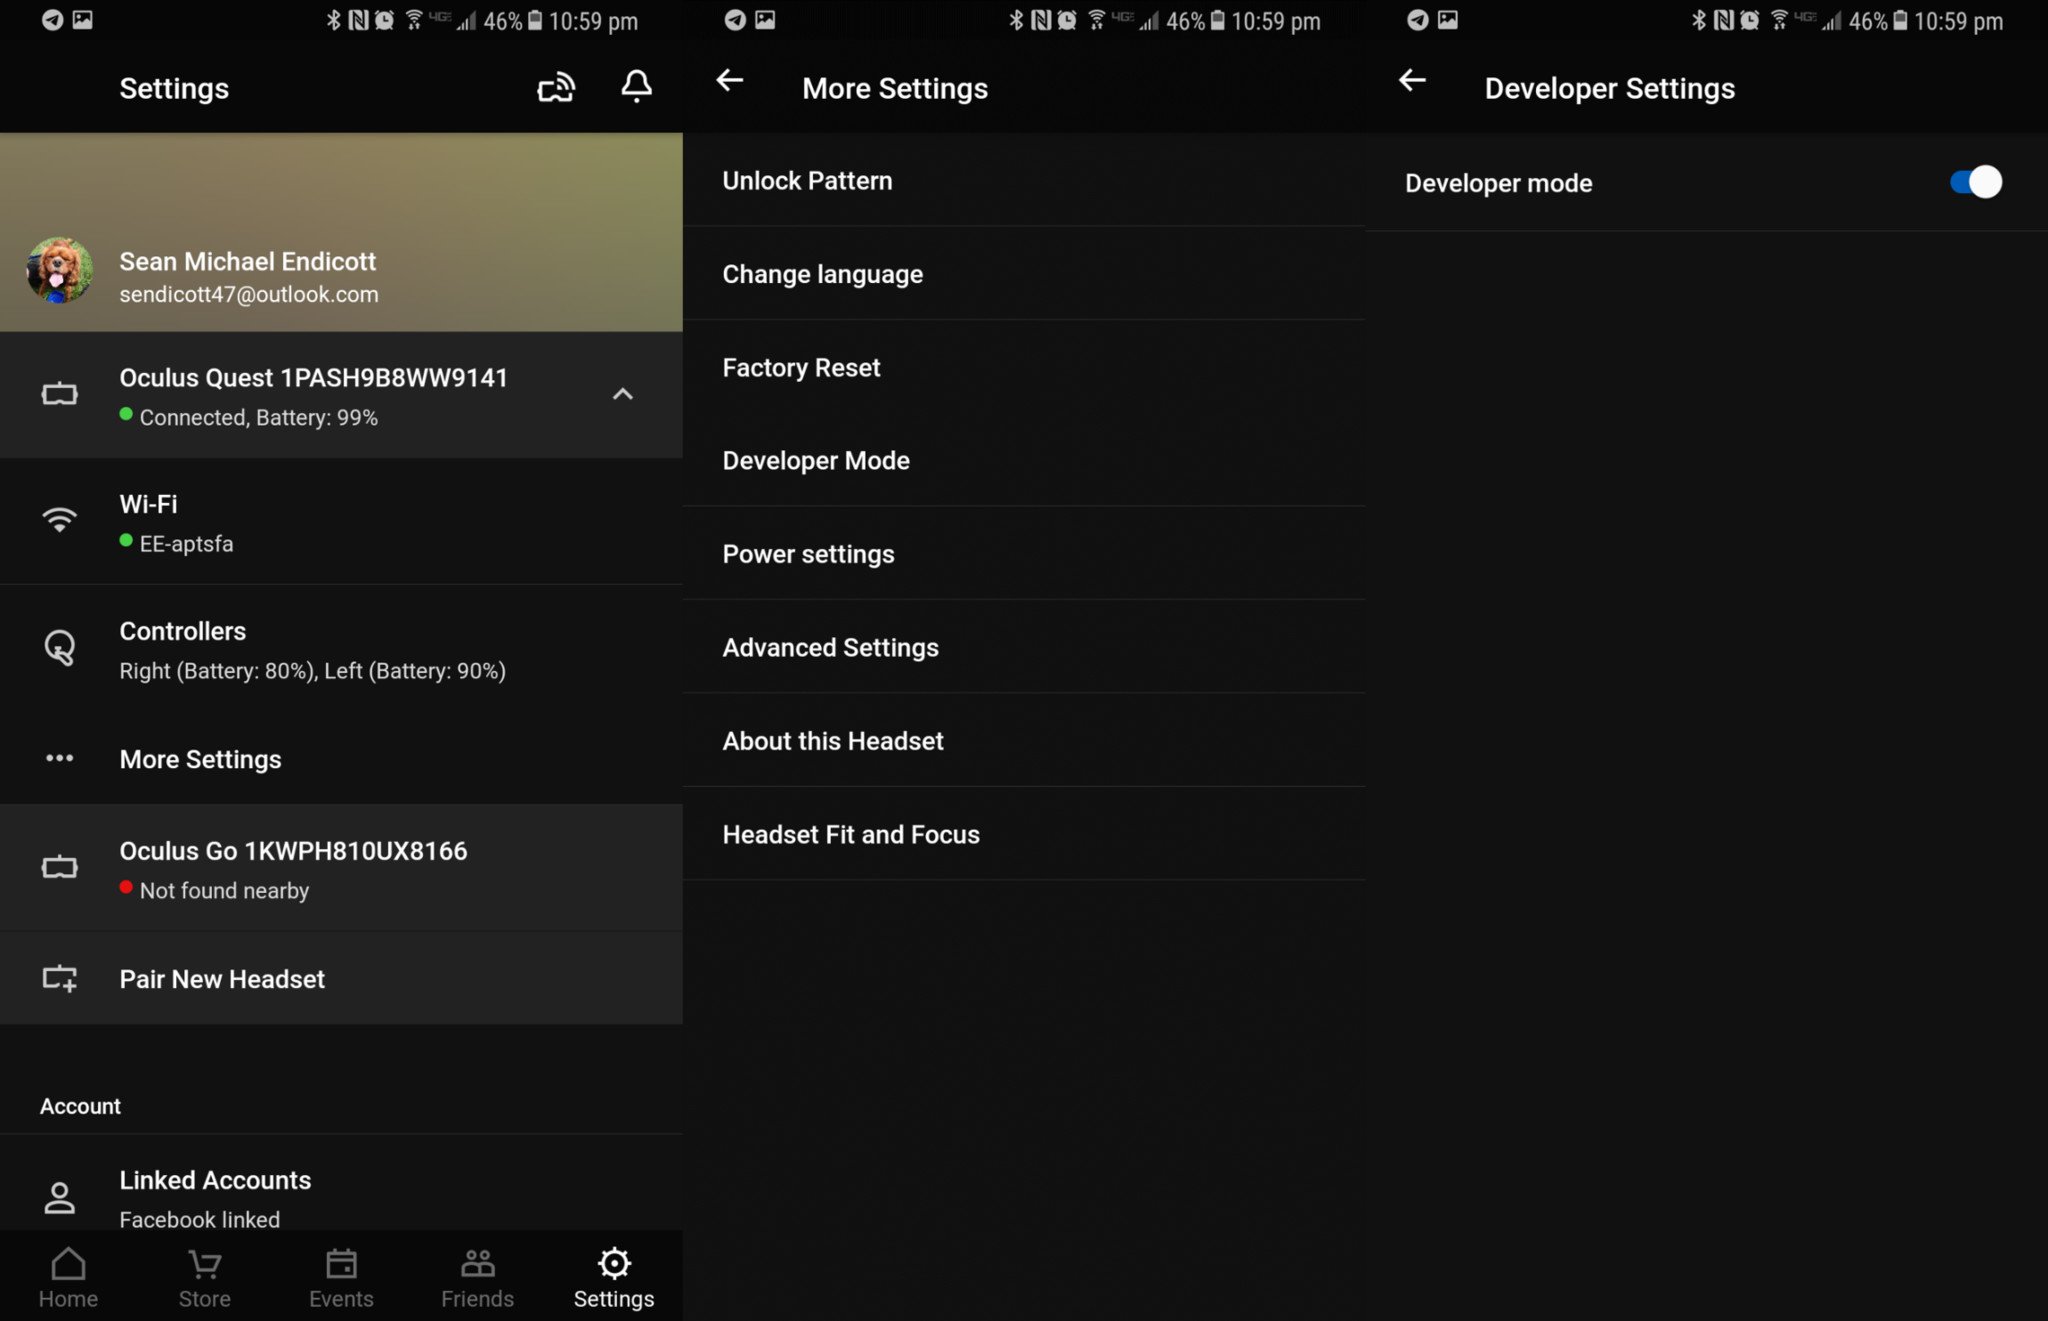
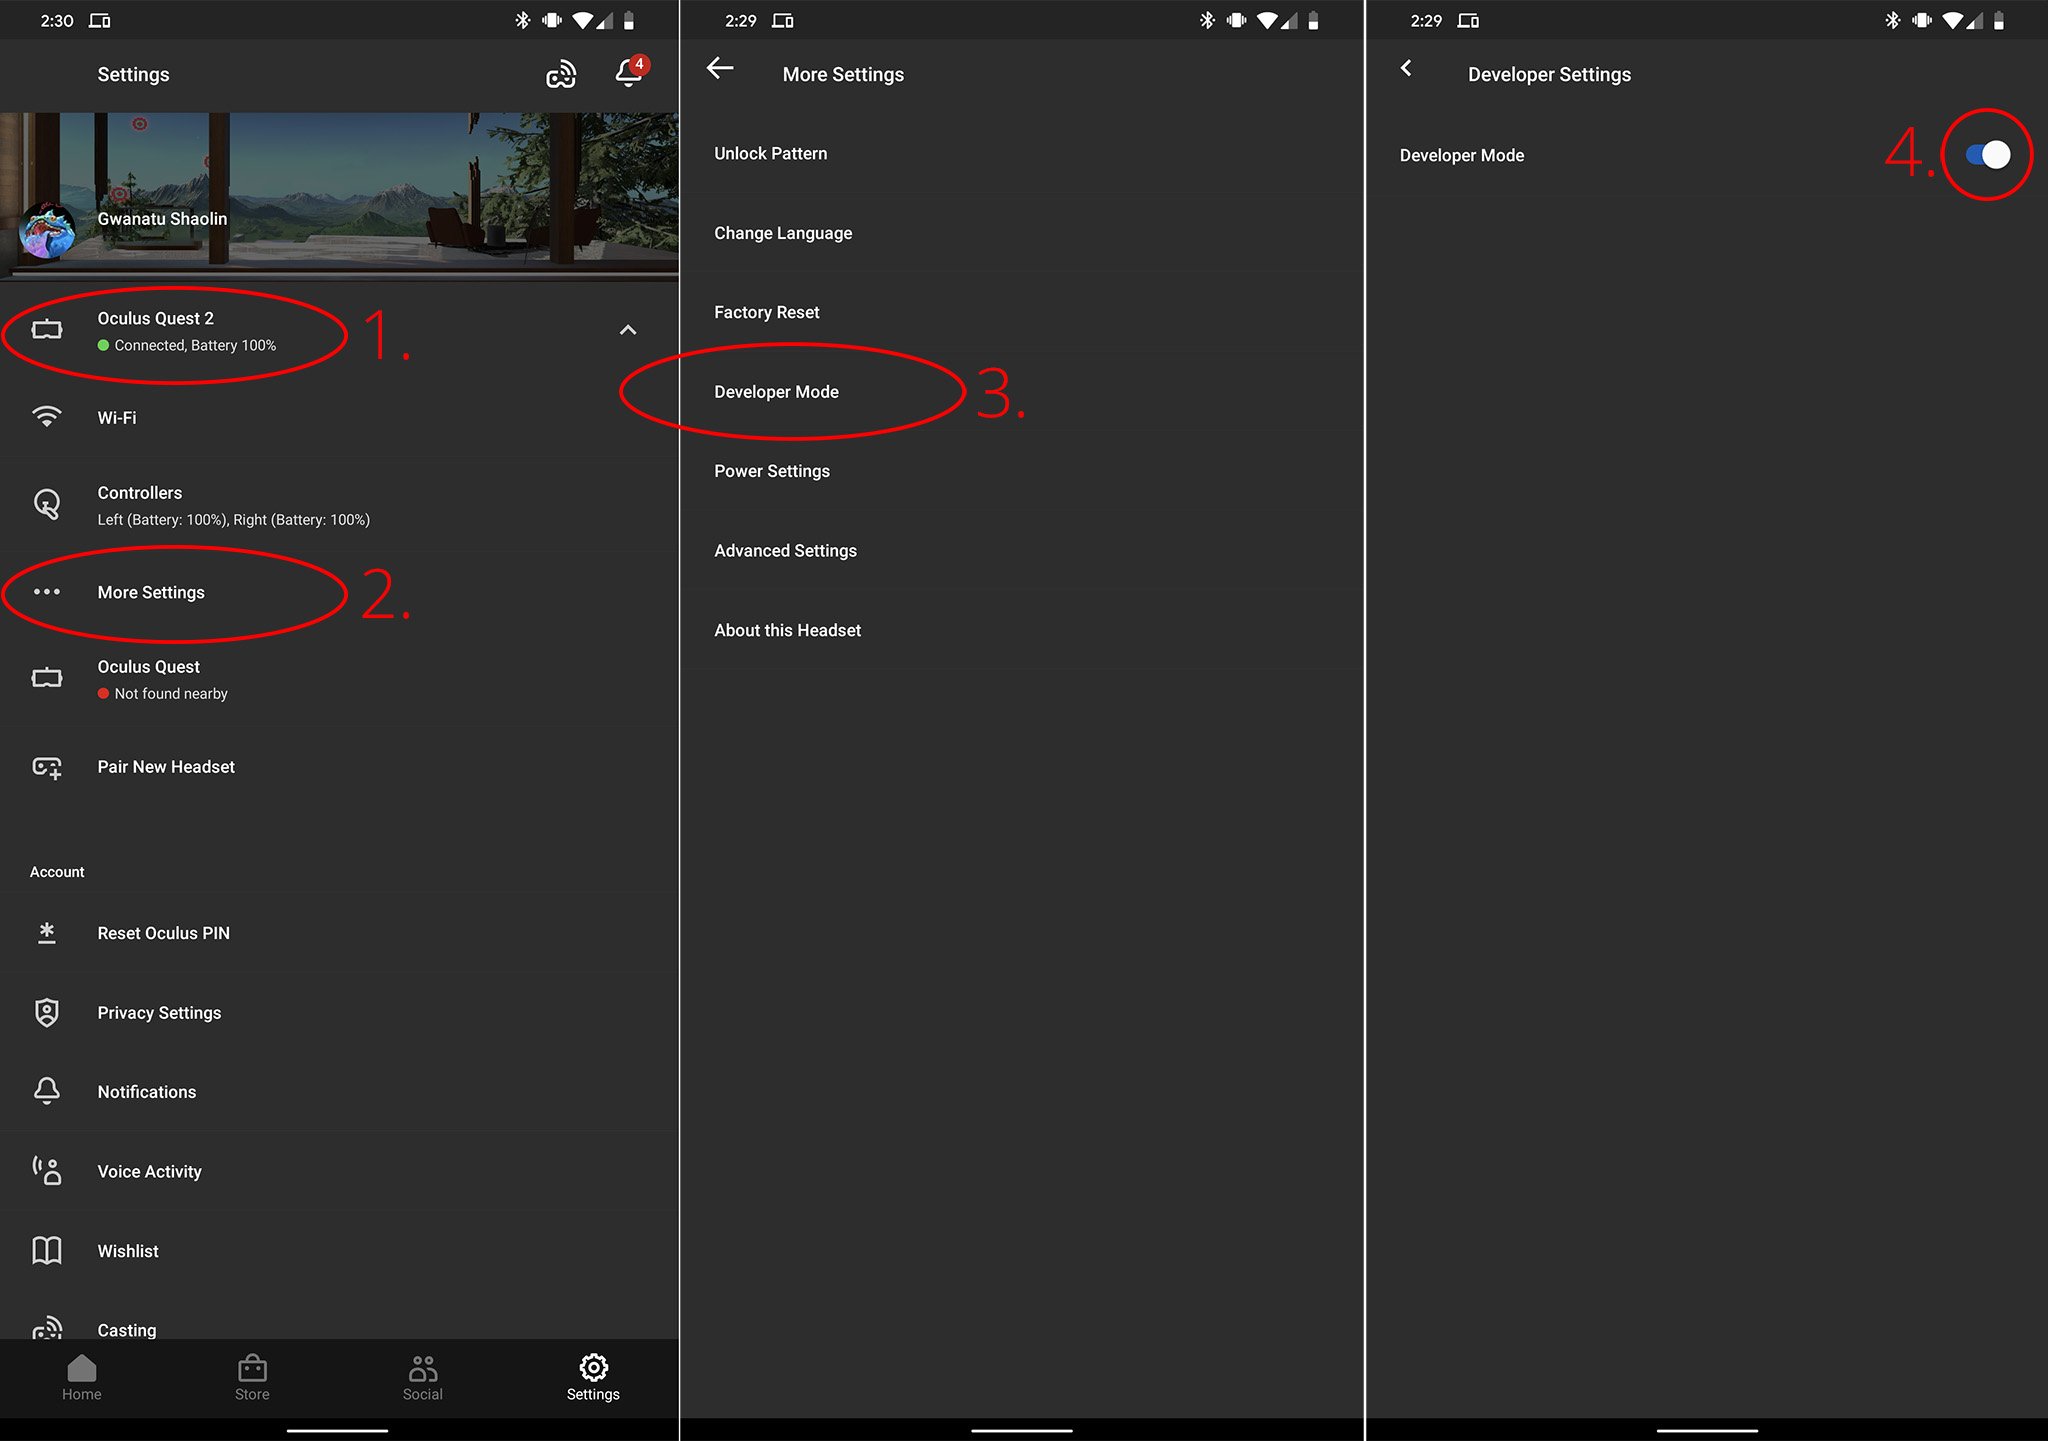
Select your Oculus Quest 2 headset.
- Tap the arrow to the right of your device name to drop down more options if they don't show up immediately after selecting your device.
- Select more settings.
- Select developer mode.
-
Toggle the developer mode setting to on.
- This opens a website (unless you've unlocked developer options on an Oculus device before).
- Scroll down and select the link below create an organization.
- Log in to your Oculus account.
- Enter the name of your "organization" (this can be anything).
- Select submit
- Agree to the terms of the agreement.
- Open the Oculus app again.
- Select Settings.
-
Select your Oculus Quest 2 headset.
- Tap the arrow to the right of your device name to drop down more options if they do not show up immediately after selecting your device.
- Select more settings.
- Select developer mode.
- Toggle the developer mode setting to on if it isn't already switched on.
How to set up SideQuest on your PC
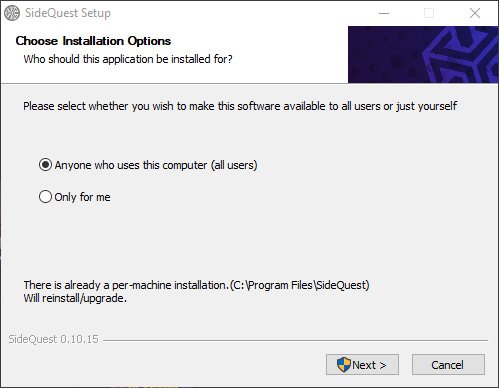
Next, you'll need to get SideQuest ready on your PC. You'll have to download SideQuest from GitHub and install it. It's an executable file, so if you've used those before, it should work like any other. You can download it on Windows, Mac, and Linux, but here's a step-by-step breakdown of the process on Windows.
- Go to SideQuestVR.com.
- Click on the GET SIDEQUEST button at the top of the page.
- Select the version for your computer's operating system, either Windows, Mac, or Linux.
- Open the downloaded installer file.
-
Accept any security dialogs that appear and run through the installation process.
-
Once the installer has completed, launch SideQuest from your Start Menu, applications menu, or quick launch bar.
How to connect your Oculus Quest 2 and SideQuest
To set up SideQuest and to install any applications, you'll need to connect your Oculus Quest 2 and your PC.
- Connect your Oculus Quest 2 to your PC using a USB cable.
-
SideQuest should recognize the headset and show a green circle with the name of your headset on the top bar.

- Put on your headset, and select Allow USB debugging.
- Make sure to check Always allow from this computer.
Time to enable 90Hz
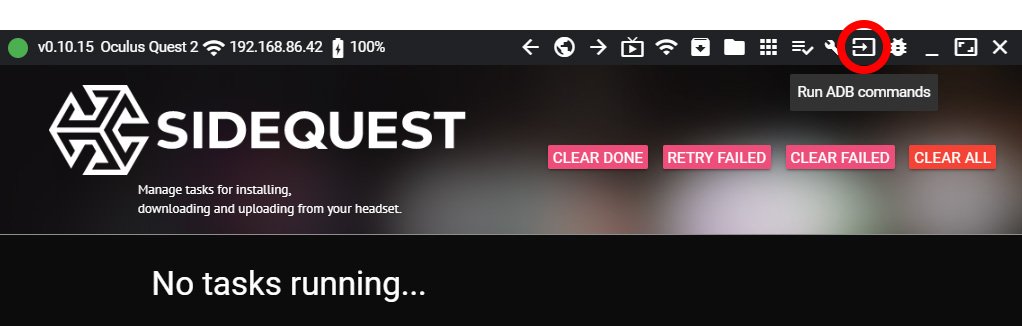
Now for the easiest part. With the SideQuest app opened on your computer and your Oculus Quest 2 connected, follow these steps.
-
Click the Run ADB Commands button at the top of the SideQuest window. The icon looks like a box with an arrow inside pointing right.
-
In the pop-up dialog box, click the Enable USB ADB button. You should receive a restarting in USB mode message in SideQuest.
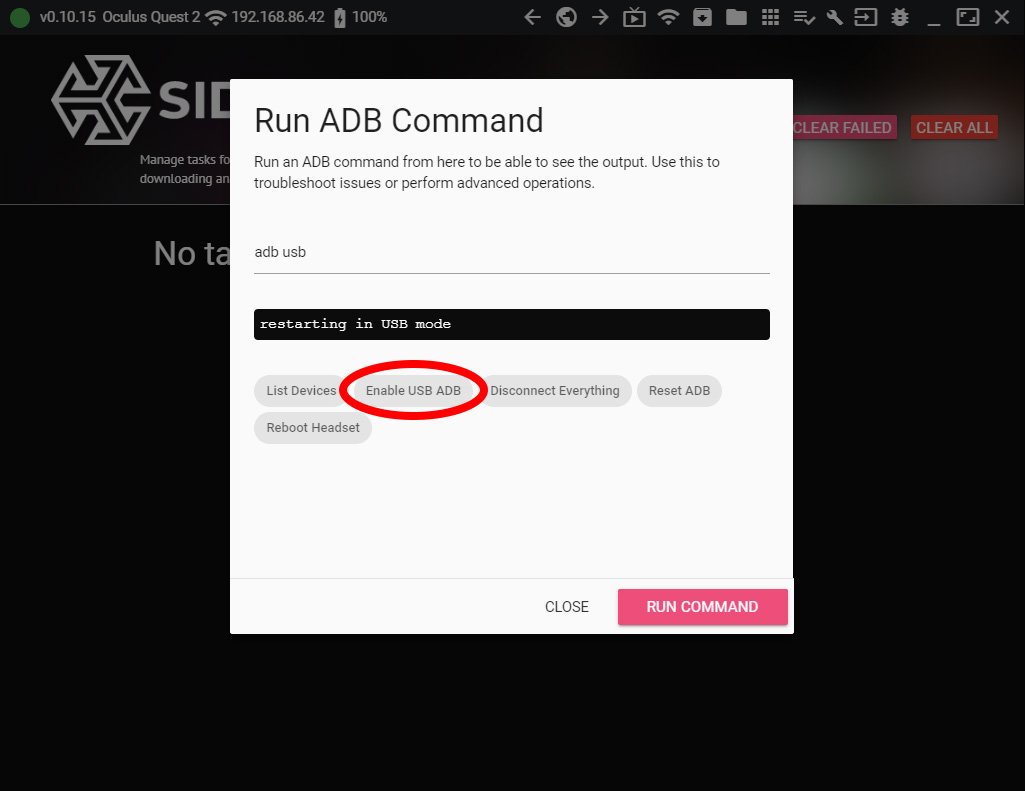
- Delete the adb usb text in the Command to Run line.
- Enter the following command (without quotes): "adb shell setprop debug.oculus.refreshRate 90"
- Click the pink RUN COMMAND button.
- Unplug your Oculus Quest 2 from your computer and put it on your head.
- Press the power button once to turn off the display. Press it again to turn the display back on.
- Enjoy 90Hz VR gaming!
How to go back to 72Hz
If you're experiencing problems or performance issues in some games, it might be best to go back to the default 72Hz setting. To do this, you'll follow the same steps as before, only replacing 90 with 72 for the refresh rate command.
-
Click the Run ADB Commands button at the top of the SideQuest window.
-
In the pop-up dialog box, click the Enable USB ADB button. You should receive a restarting in USB mode message in SideQuest.
- Delete the adb usb text in the Command to Run line.
- Enter the following command (without quotes): "adb shell setprop debug.oculus.refreshRate 72"
- Click the pink RUN COMMAND button.
- Unplug your Oculus Quest 2 from your computer and put it on your head.
- Press the power button once to turn off the display. Press it again to turn the display back on.
- Everything will be back to the 72Hz mode that ships on the Oculus Quest 2
90Hz is a huge upgrade for VR games, even if the number jump from 72Hz to 90Hz doesn't seem like a lot. Every increase in refresh rate with a VR headset means a more comfortable experience, less motion sickness, and a more realistic feeling.
Get it now
Oculus Quest 2

From $299 at Amazon From $299 at Best Buy From $299 at Walmart
An incredible experience
Facebook has improved seemingly everything with the second-generation Oculus Quest, making this the VR system to get.
Additional Equipment
While the Oculus Quest 2 comes with everything you need to get started, you might want to pick up a longer USB-C cable to connect to your computer. In addition to making it more convenient to connect to your PC, a long 16-foot cable like the one found below will enable Oculus Link functionality. If you've got a VR-ready gaming PC, this turns your Oculus Quest 2 into an Oculus Rift, enabling even more immersive games thanks to a PC's extra horsepower.
Shample Oculus Link 16ft USB cable
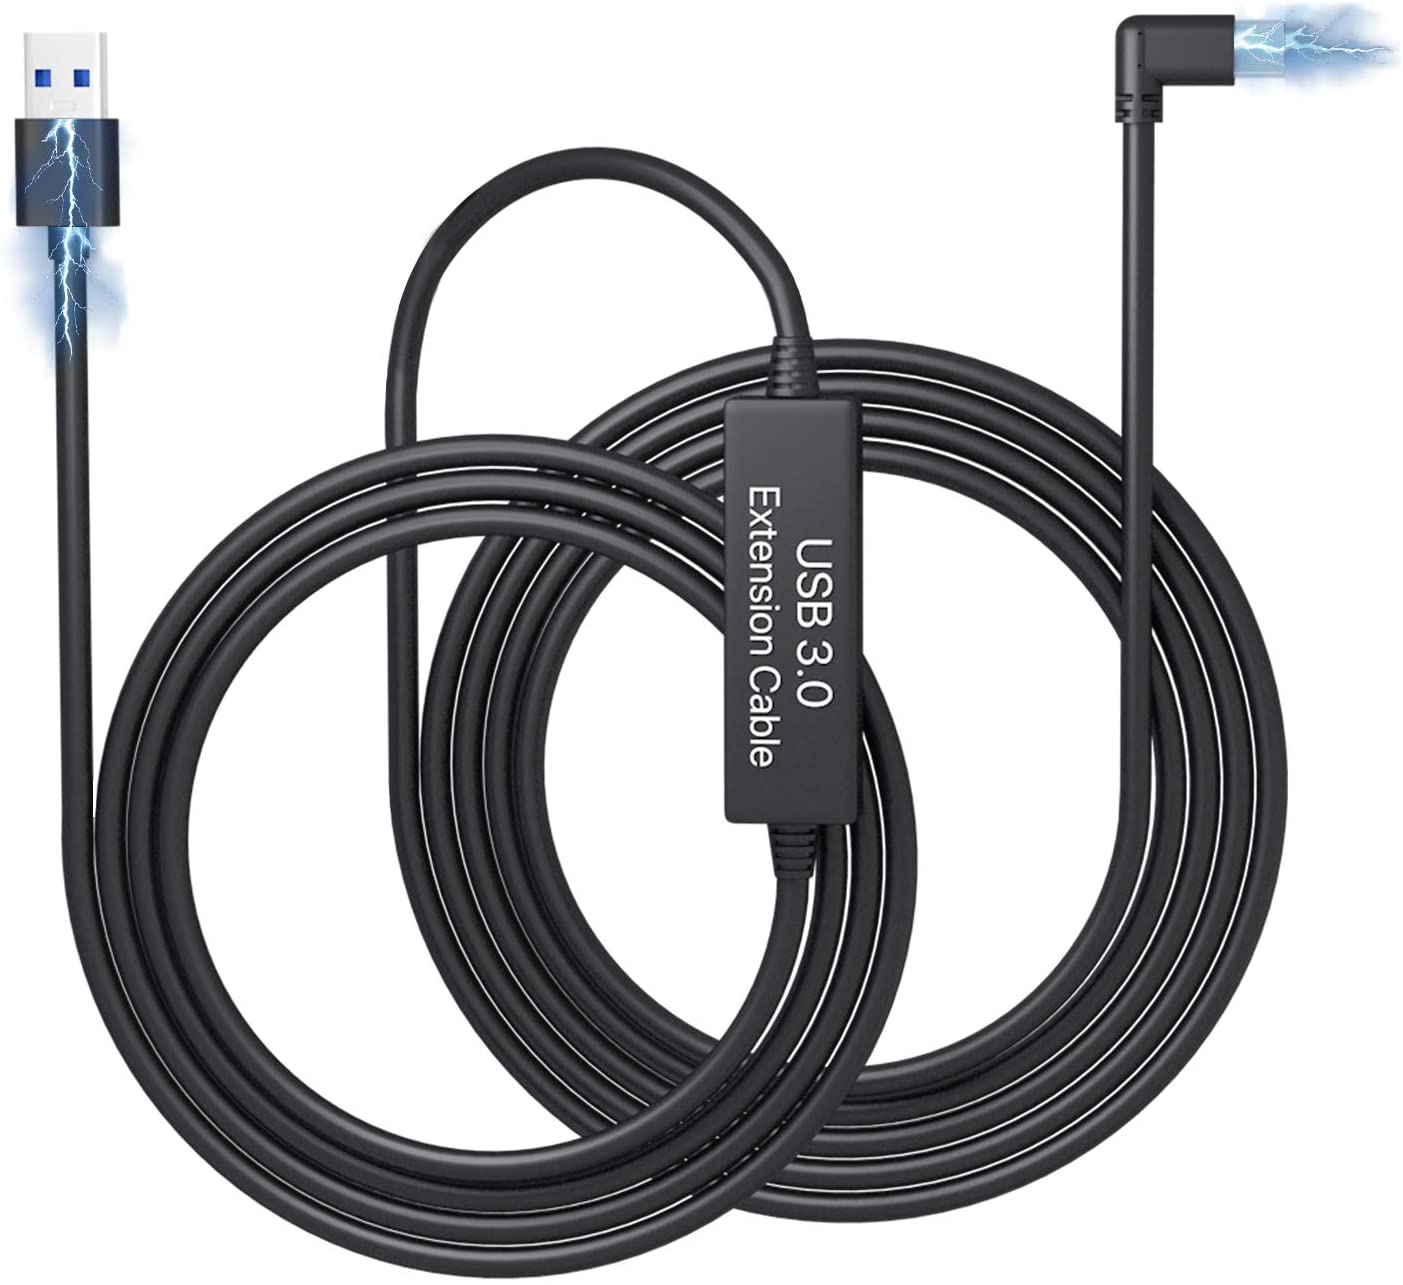
The official Oculus Link cable is great, but it costs a lot and is only USB-C. This USB-A to USB-C cable is longer, cheaper, and more versatile.
Source: androidcentral