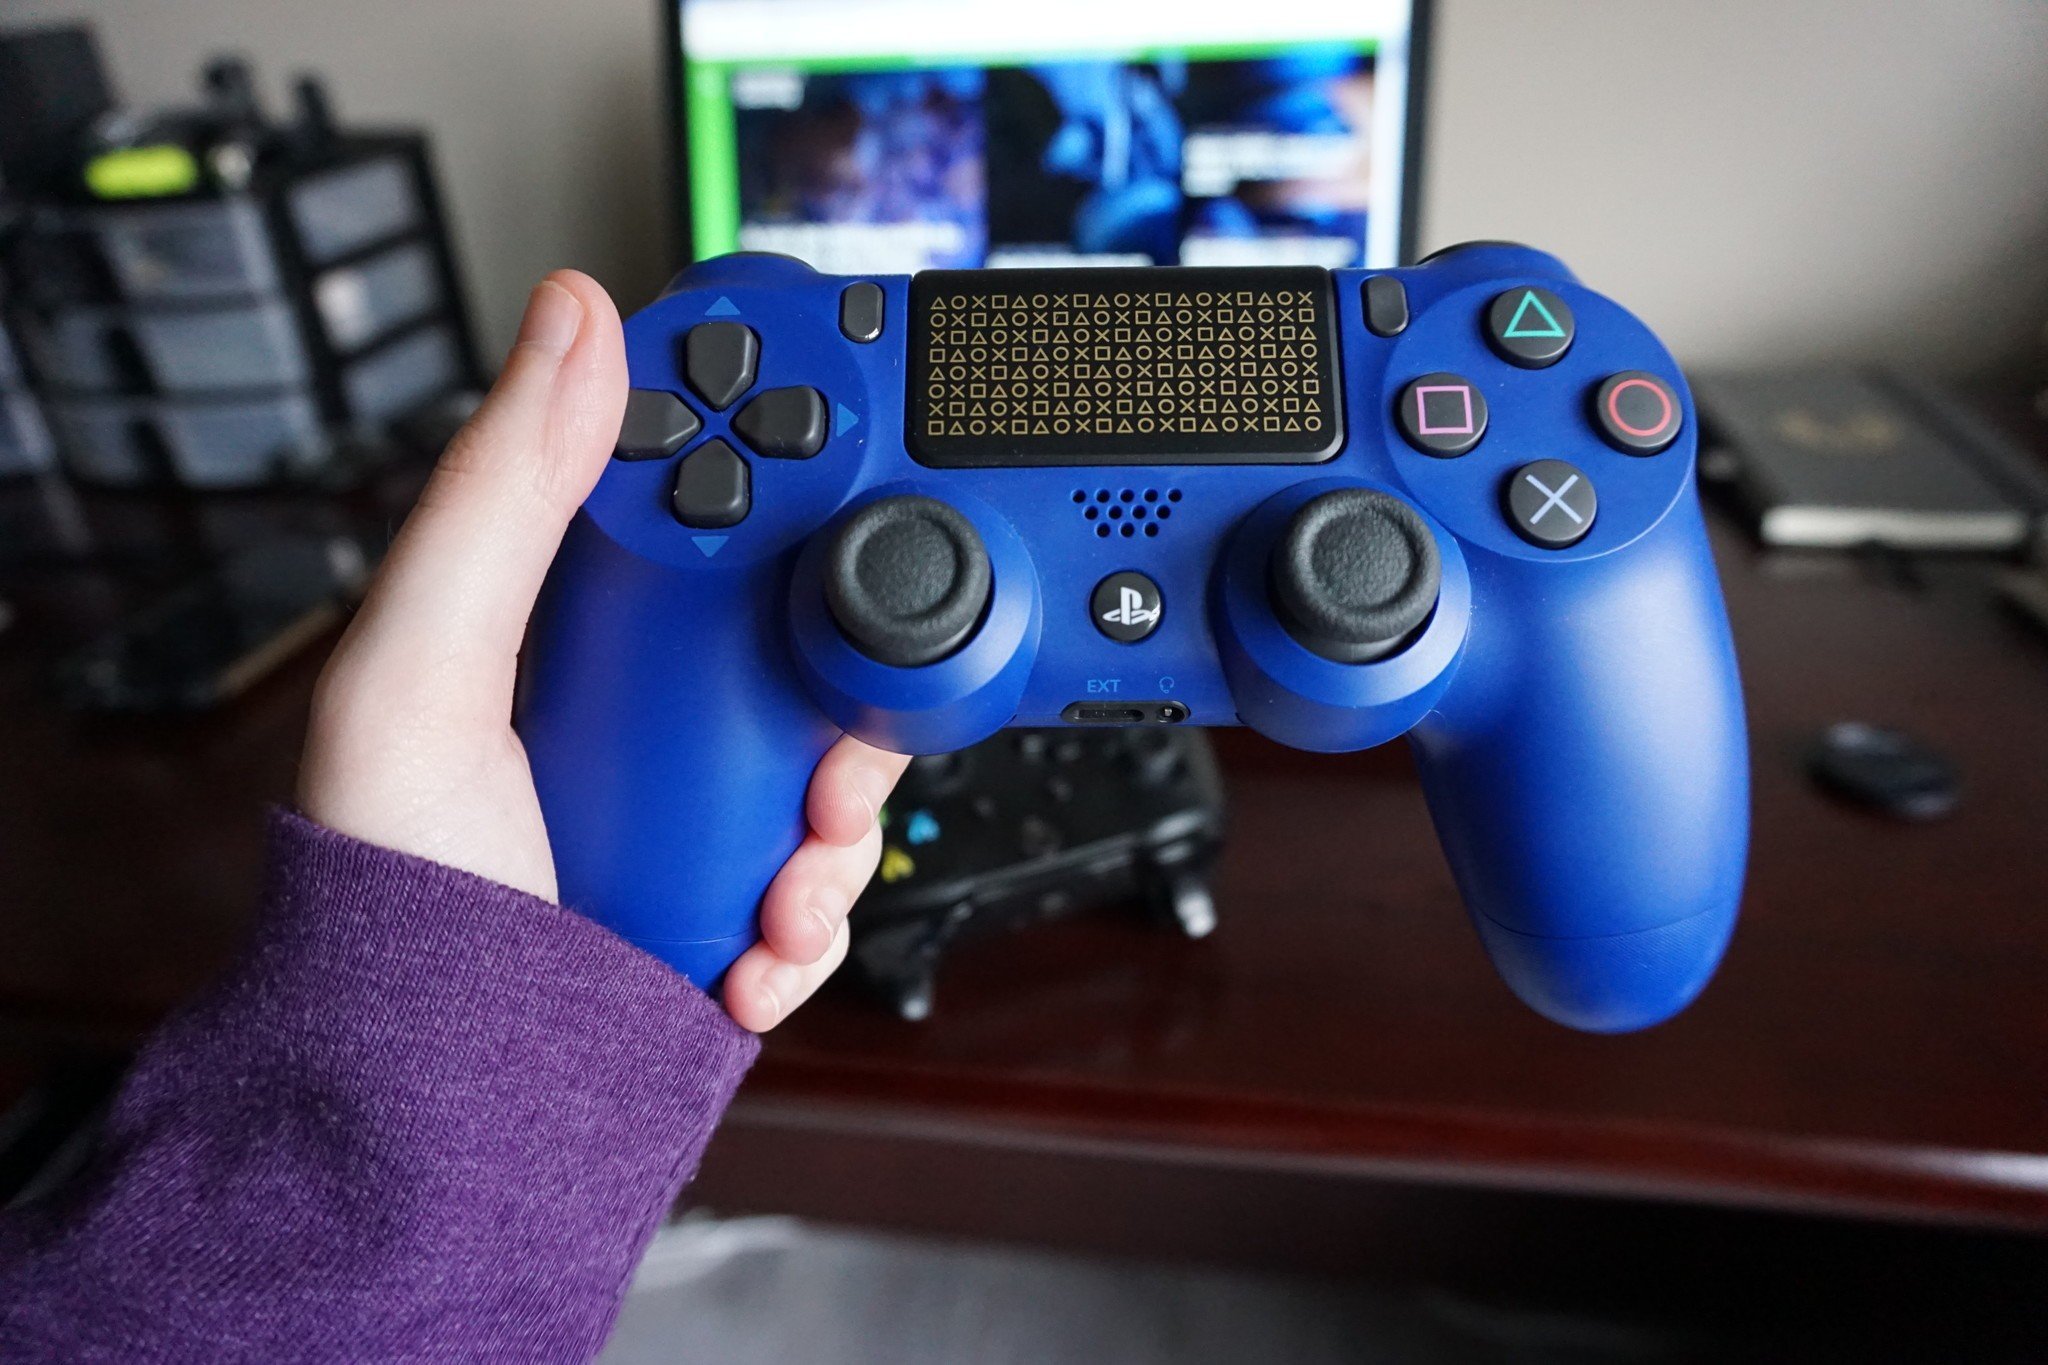
One relatively common issue with PS4 DualShock controllers seems to be the jitters (thankfully, this doesn't appear to affect the PS5 DualSense). It's as if your controller has had too many cups of coffee. If you are experiencing this issue, you will find that input from your sticks (usually the left) will start to stutter. When you push the stick forward, instead of seeing smooth movement on the screen, you'll see a movement that starts and stops with no rhyme or reason. Have no fear. Before you toss that dual-stick in the trash and buy another of the best PS4 controllers out there, let's take a look at what you can try to remedy your problem.
Products used in this guide
- Blow out the dust-bunnies: 2-Pack Dust-Off Compressed Air ($12 at Amazon)
- Adieu dust: AmazonBasics Microfiber Cloth 24-pack ($14 at Amazon)
- Grime be gone: Babyganics Alcohol-Free Sanitizing Wipes ($9 at Amazon)
- Get crafty: Joystick Wireless Controller Rocker for PlayStation 4 PS4 Controller ($7 at Amazon)
- Small Philips: Dynamite Screwdriver ($7 at Amazon)
- The whole package: Plusivo Soldering Kit ($17 at Amazon)
- It's getting hot in here: SEEKONE Heat Gun 1800W ($29 at Amazon)
Try cleaning your controllers
This issue is caused by one of the biggest enemies of electronics. Dust and dirt can cause poor electrical connection, leading to unreliable results or even all-out failure.
- Push the stick to the side and use a can of compressed air to blow into the cap. Keep the nozzle at least three inches from the controller when you do this.
- Go ahead and blow out the other nooks and crannies of the other buttons on your controller.
- Use a non-alcoholic wipe to wipe down the controller. Be careful not to press too hard on buttons, and make sure your wipe isn't too wet when you're wiping it down.
- Use a microfiber cloth to dry the controller and remove any remaining dust.
Even if you aren't experiencing any issues with your DualShock, make sure you give it a good cleaning at least once a month. This helps maintain the lifespan of the controller, and it's excellent for sanitary reasons.
Replacement parts
Outside of dust and dirt causing malfunctions, your controller just might be worn from use. If you are a regular and active gamer or if you have a super-strong thumb, you may have managed to wear out the electrical connections. I've broken down the instructions on how to replace the shockers in your controller into two sections. First: How to take apart your DualShock. Second: How to replace the shocker and put it back together.
How to take apart your DualShock controller
- Use a small Phillips head screwdriver to remove the four screws from the back of the controller.
- From the bottom of the controller, split apart the two sections of the DualShock. (Use a pair of Tweezers to help if you can't get your nails or fingers to fit).
- Remove the back shell carefully. The back shell is still connected to the USB board by a ribbon cable.
- Once the back shell is removed carefully, remove the ribbon cord from the USB board. Firmly hold as close to the connective piece that you can and pull until it releases.
- Set the back end of the DualShock to the side.
- Disconnect the battery from the front end of the DualShock controller. Do this by sliding out the grey box (the battery) and firmly holding as close to the connective piece as you can to the black and red wires. Pull until it releases.
- Use your tweezers to get between the battery holder (the piece of black plastic in the center) and the USB board. Lift with your tweezers to remove the battery holder.
- Use your tweezers to disconnect the touchpad's ribbon cable. This is the dark red ribbon to the top of the USB board. Carefully slide your tweezers underneath it and pull up while slightly rocking back and forth. Don't damage the ribbon.
- Use your small Phillips head screwdriver to remove the center screw from the USB board.
- Remove the center of the controller now that everything is free.
- Slowly lift the USB board from the controller. There is more than enough room for you to turn it over to replace the shockers WITHOUT having to remove the red and black cables from each side. Be mindful of these cables as you complete these next few steps, however.
How to replace the shockers on your DualShock controller
- Remove the analog sticks by pulling outward on them very carefully.
- Use a desoldering pump to remove the solder that connects the shockers to the DualShock controller. Do this by heating the solder with a soldering iron while sucking the solder with the desoldering pump.
- Add solder flux to a solder wick.
- Add solder flux to the pieces you've removed the solder from.
- Use your iron and your wick (solder flux side facing down) together to maneuver around the pieces and clean it up a bit more.
- Wipe it down with a paper towel.
- Use a hot air gun to gently blow hot air, in bursts, onto the pieces until they release. Give the shocker a gentle pull while you do this. Make sure you don't let the circuit board get too hot or pull too hard on the shocker.
- Allow the circuit board to cool and install the new shocker. If the holes to your board aren't open, use your desoldering pump and soldering iron at the same time to help remove the excess solder.
- First, put a layer of solder flux on the pieces.
- Second, apply a layer of solder to each piece.
- Wipe off the circuit board with a paper towel.
- Flip the circuit board back over (after it cools) and put it back in place in the DualShock controller.
- Replace the screw in the center of the circuit board.
- Use your tweezers to install the red ribbon back into the top of the circuit board.
- Replace the battery holder onto the circuit board. (It doesn't connect with anything. It just fits right into place).
- Replace the battery in the battery holder and re-connect the red and black wires to the circuit board.
- Reattach the ribbon cord from the front end of the DualShock to the USB board of the circuit board.
- Reconnect the back end of the DualShock to the front end.
- Replace the screws.
We don't recommend trying this method unless you have confidence in your ability, knowledge of circuit boards and don't mind the risk of permanently damaging your controller. So have at it, but be careful!
Time for a brand new DualShock
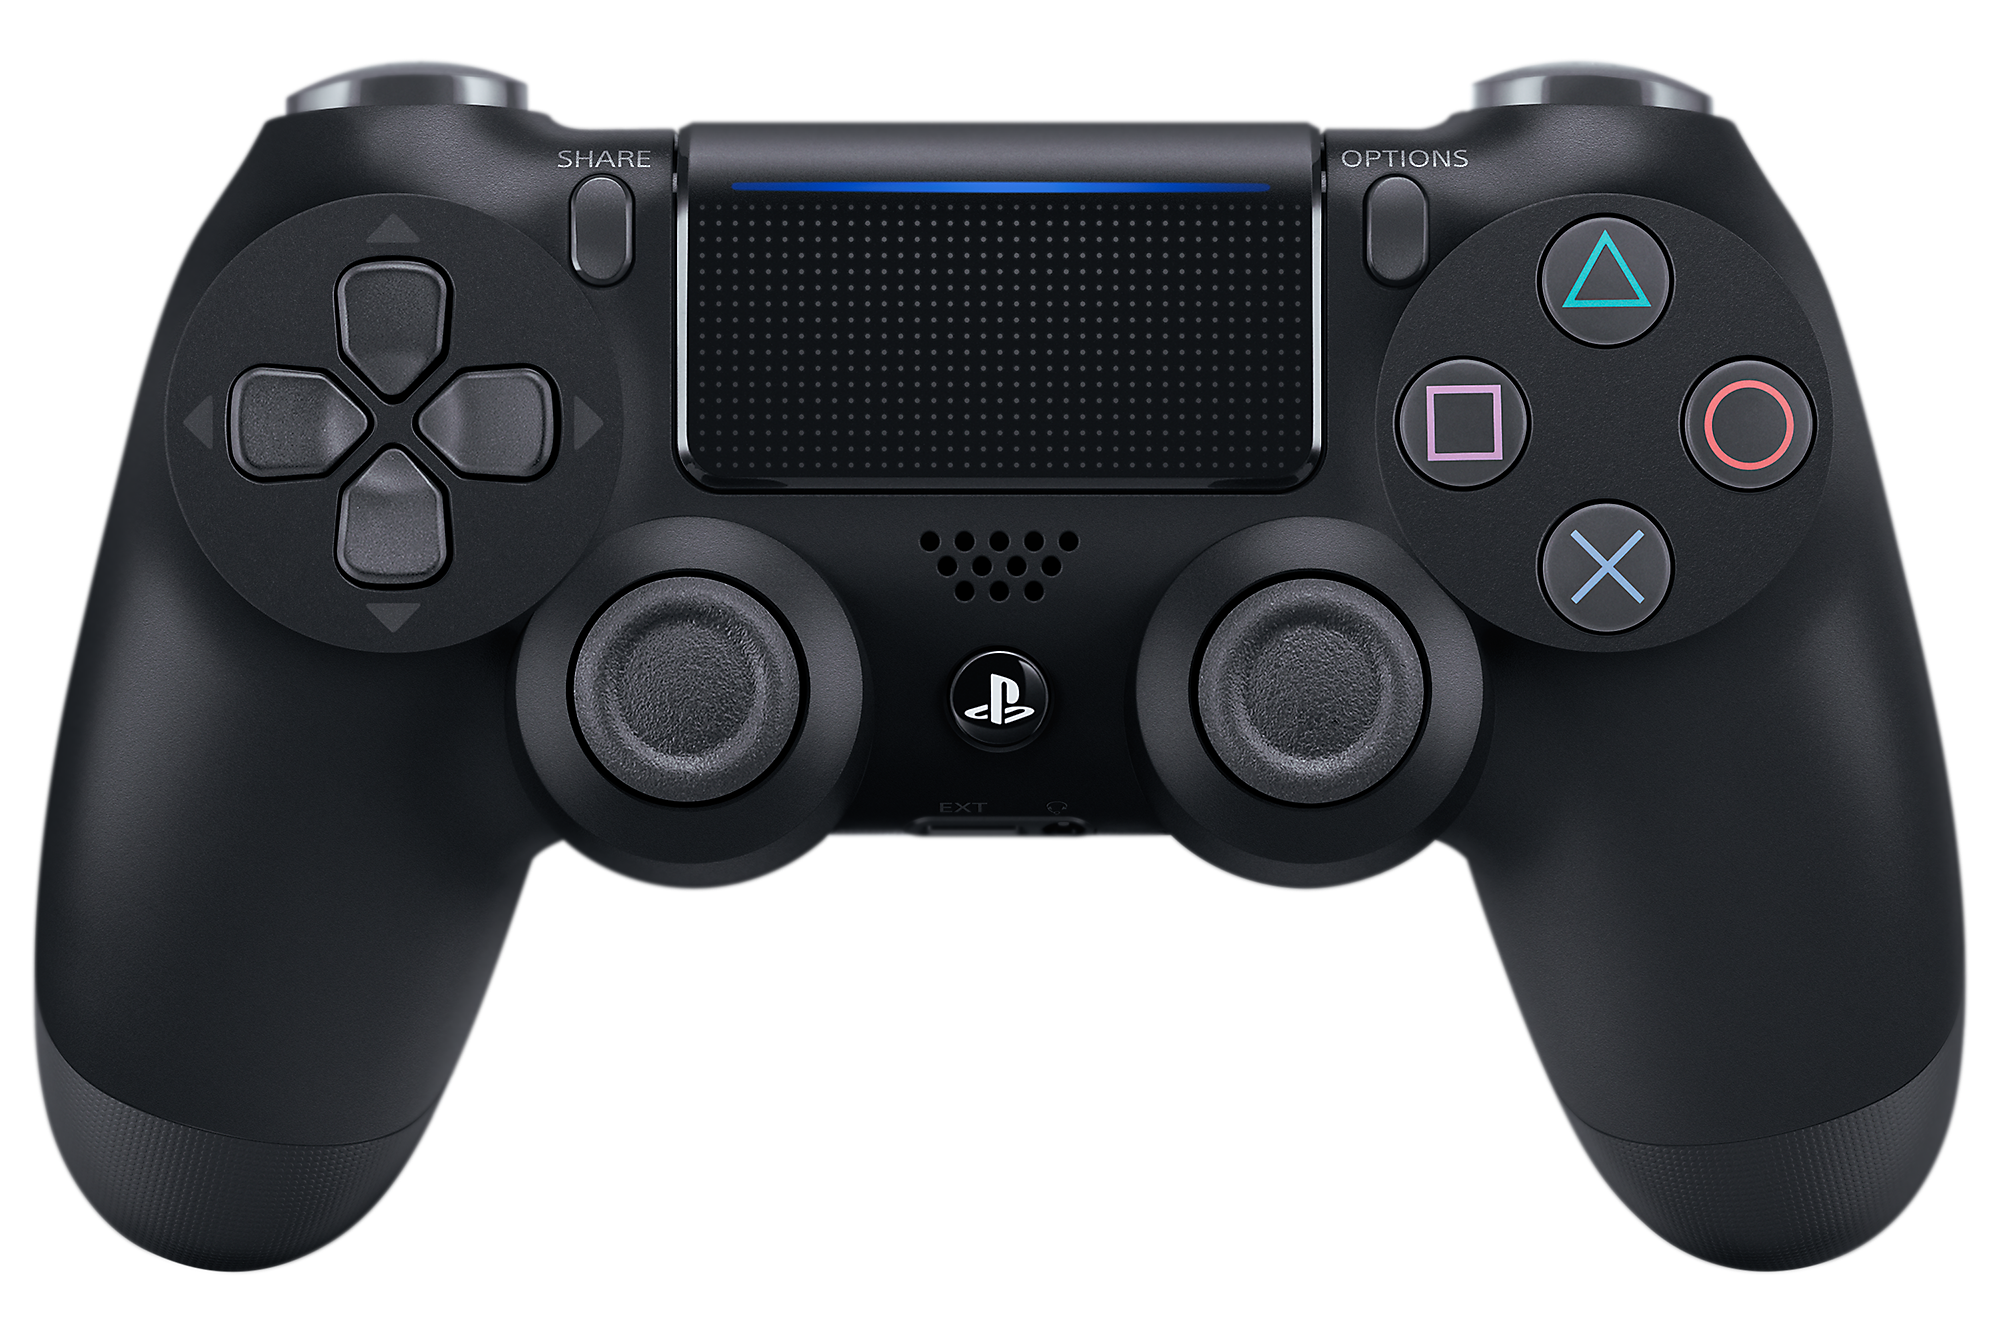
If you have tried cleaning your controller out and replacing the parts, and it still doesn't work, it might be time to replace it. Use this as an opportunity to get yourself a brand new controller. It allows you to see what other options are out there. There are tons of different controller styles, and you can often pick up a black one for as low as $46.
Greater greatness awaits
DualShock 4 Wireless Controller for PlayStation 4
Long live the DualShock
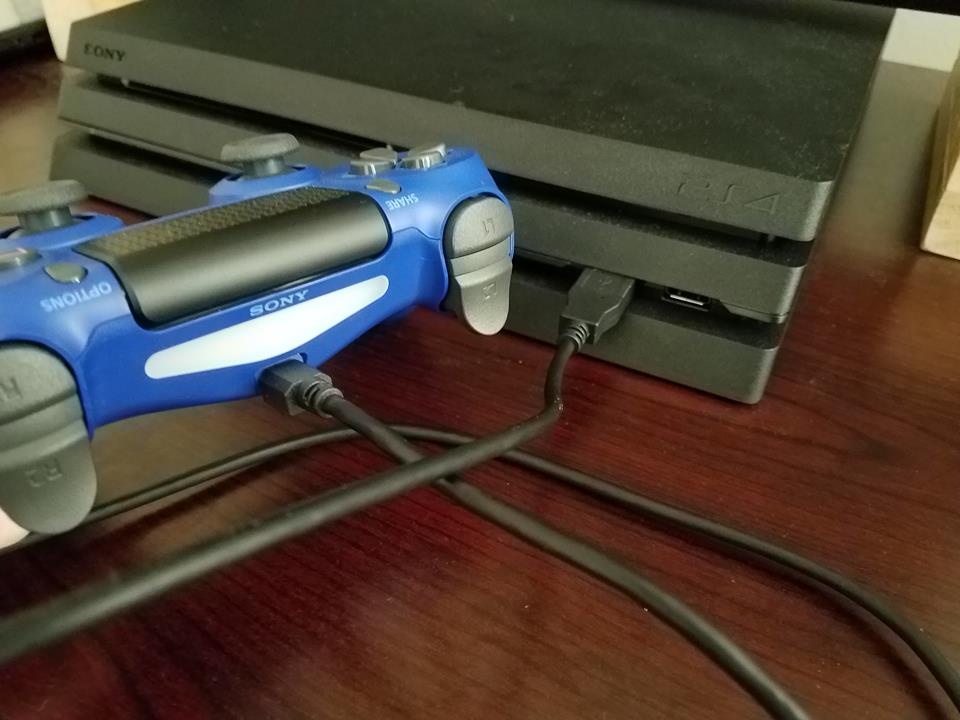
The DualShock controller fits comfortably in most hands, has a touchpad you can easily reach with your thumbs, and motion control for more immersive gaming. It connects wirelessly through your PlayStation 4, charges quickly with a USB cable, and lasts for hours on end before you need to plug in.
Some great accessories to help you out
Compressed Air

Every home needs a can or two of compressed air in the cabinet. It's perfect for dusting all those hard-to-reach spots when it comes to your technology. Anyone who frequently uses a keyboard or controller should keep a can of compressed air lying around. You never know when it will come in handy.
AmazonBasics Microfiber Cloth 24-pack

When it comes to cleaning lenses or electronics, a microfiber cloth is your safest option. You can use them dry, without any harmful chemicals, to clean all the sensitive equipment you have.
Babyganics Alcohol-Free Sanitizing Wipes

These disinfectant wipes do not contain any traces of bleach or alcohol. That makes this option the best for cleaning equipment that sits on your face.
Joystick Wireless Controller Rocker for Playstation 4 PS4 Controller

These are total replacement parts for the shockers of your DualShock controller. Instead of only replacing the tension springs in the controllers, you can replace both of your analog sticks for less than $10!
Dynamite Screwdriver

You never know when you need a small screwdriver. Whether you're replacing the batteries in a baby toy or trying to dive into the world of repairing your tech, you'll need your handy dandy screwdriver to do it.
Plusivo Soldering Kit

Ready to dive into the world of repairing technology? Well, here's the perfect starting kit. It comes with just about everything you need to get started, including a soldering iron, soldering iron stand, soldering iron tip set, desoldering pump, solder wick, and tweezers.
SEEKONE Heat Gun 1800W

This is one of the most useful tools I've ever bought for my home. You can safely control the temperatures and have two settings of airflow. The airflow is controlled by a switch, which is conveniently placed in a trigger location so you can quickly change from on and off for a more controlled heat source.
Source: androidcentral